PROCESS
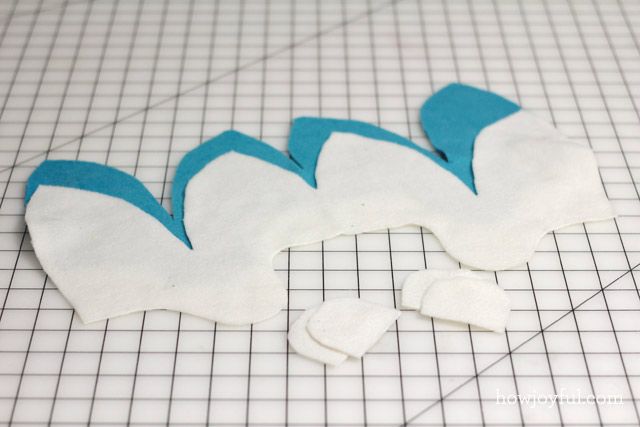 |
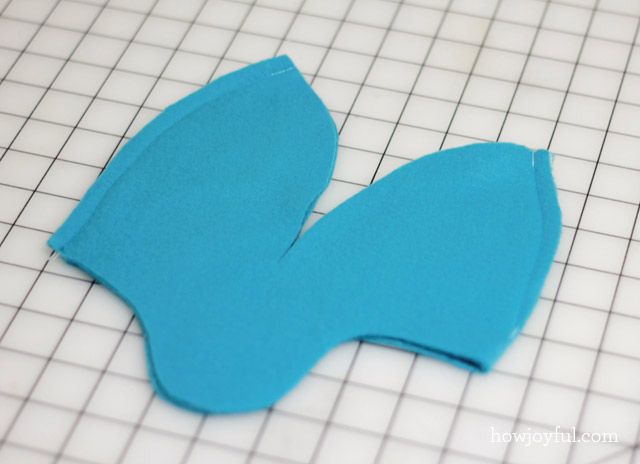
1- First you need to cut your pieces, in this picture you can see the 4 pieces for the ears and the two for the hat body. I left 1/4″of seam allowance for mine.
|
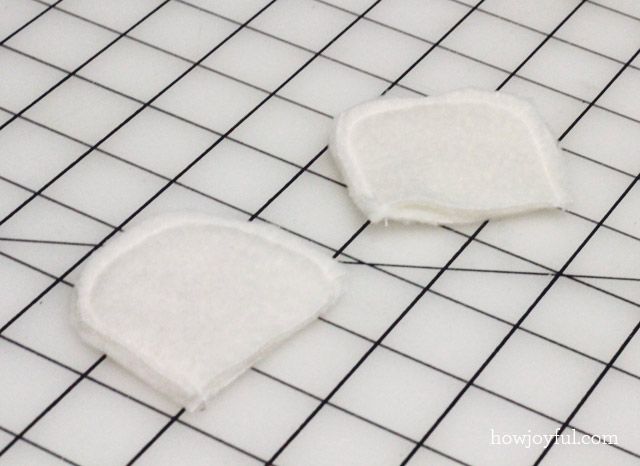 |
2- Place the ear pieces with the right side facing in and sew around the edge.
|
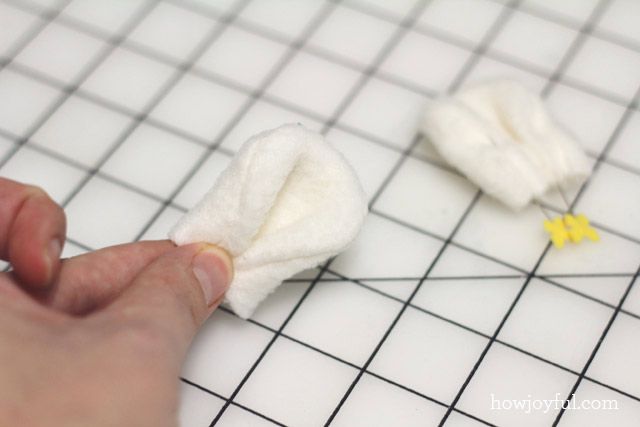 |
3- Turn the ears inside our, then fold the ends toward the center, just like the picture shows, once you have them in that shape pin them in place.
|
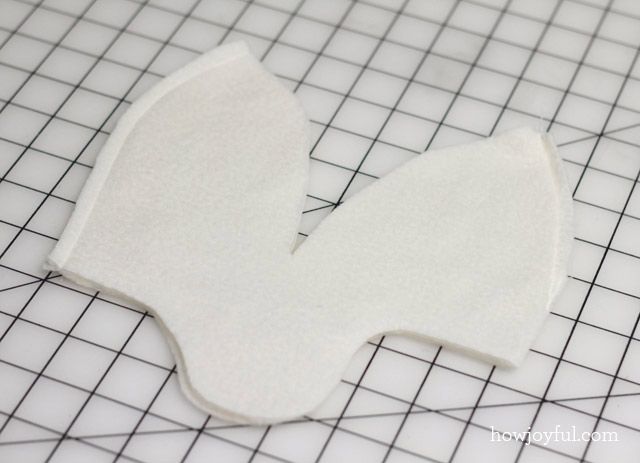 |
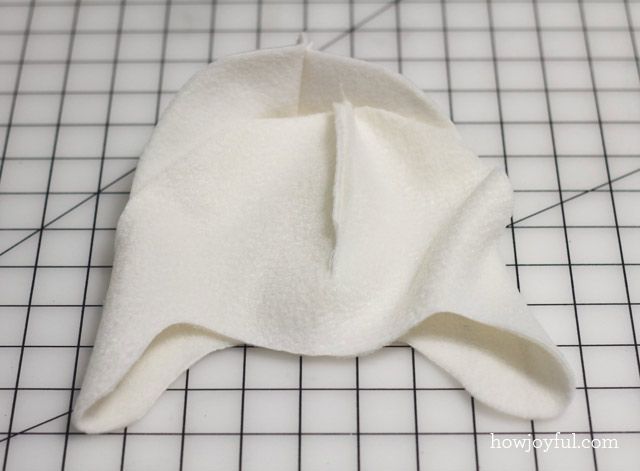
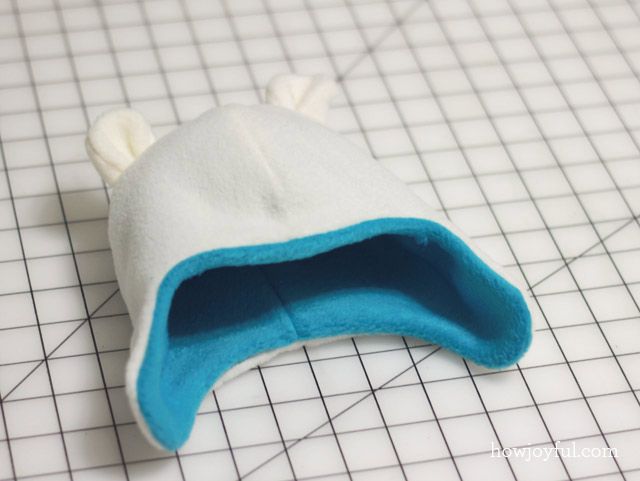
4- Fold the hat body in half right side facing in an sew the back and the front.
|
 |
5- Repeat the previous step with the inside piece of the hat.
|
 |
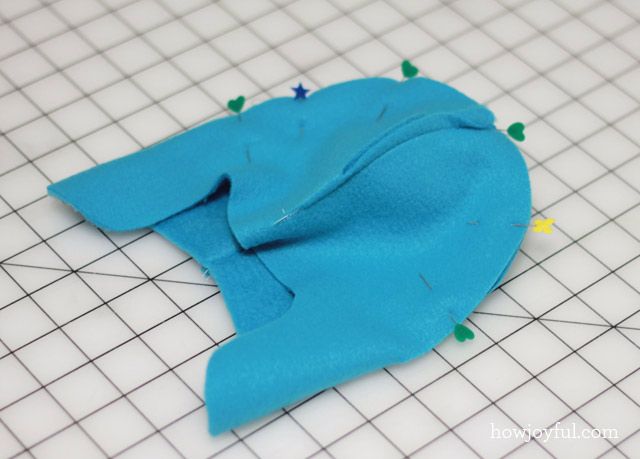
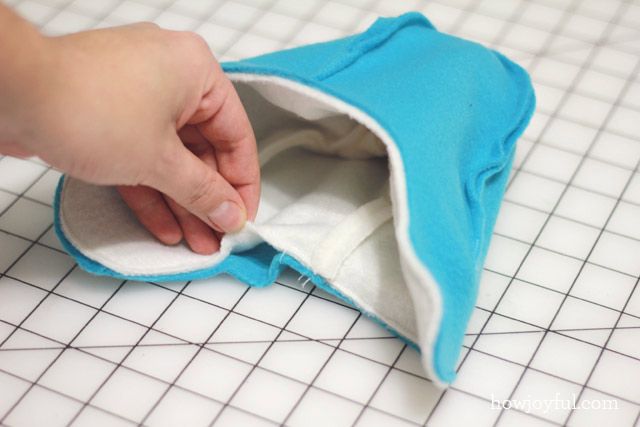
6- Place the hat with the front facing towards you.
|
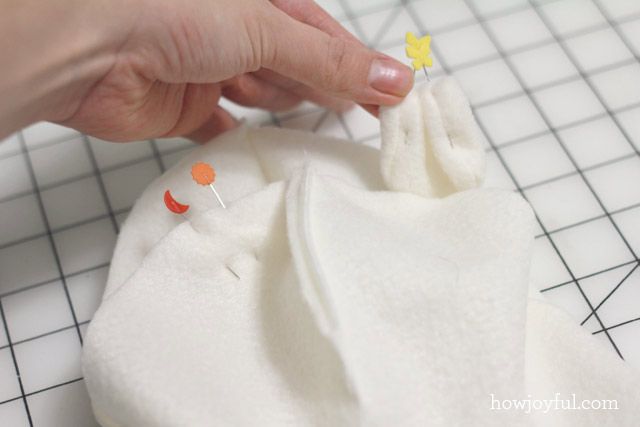 |
7- Pin the hears to the body as shown the picture, ears facing down with the front facing the front of the hat.
|
 |
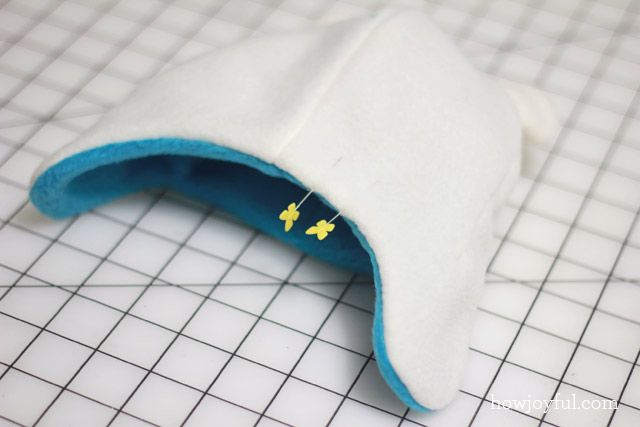
8- Pin the rest of the top opening so it’s easier to sew.
|
 |
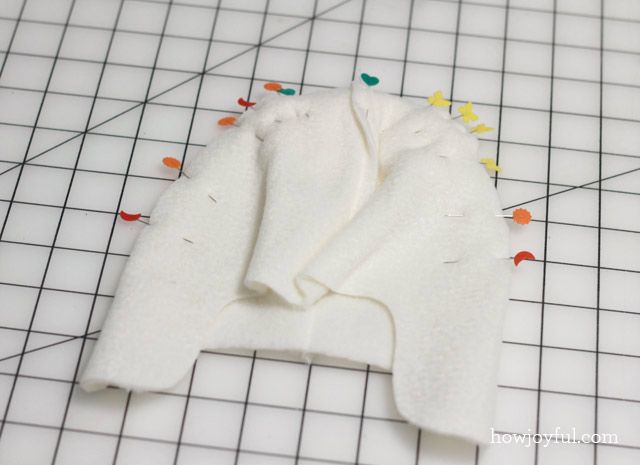
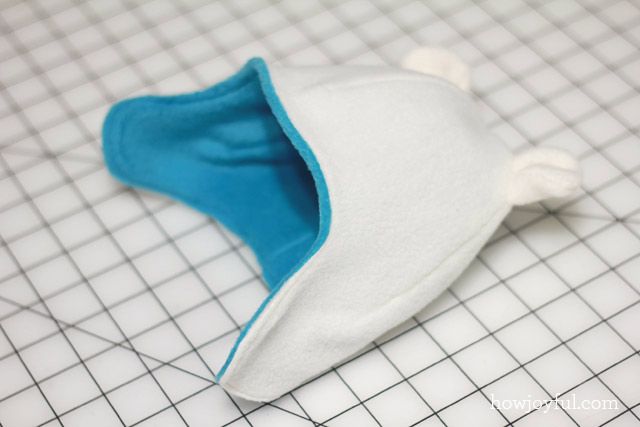
9- Repeat with the inside piece, and if you want you can add ears to this too and make the hat reversible, I chose to have one side with ears and the other one without.
|
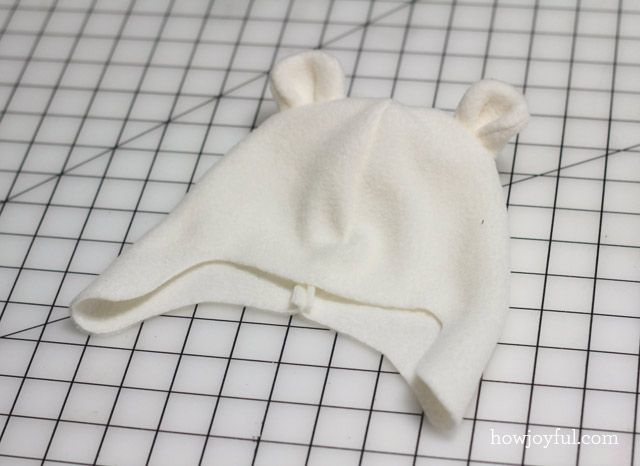 |
10- Turn the hat inside out.
|
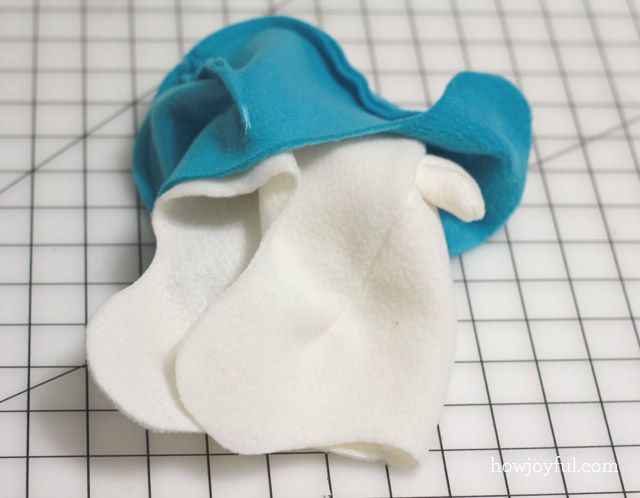 |
11- Place the body pieces one inside the other with the right sides facing each other.
|
 |
12- Pin them in place for easy sewing.
|
 |
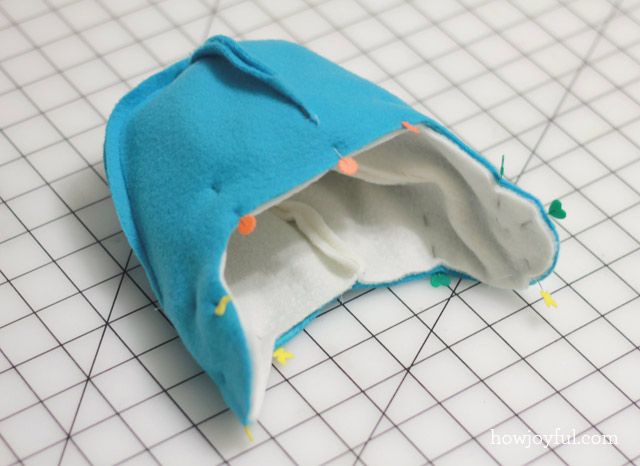
13- Sew all the way around leaving a small opening in the back.
|
 |
14- Turn the hat inside out.
|
 |
15- Pin the opening shut and topstitch all the way around the edge of the hat.
|
 |
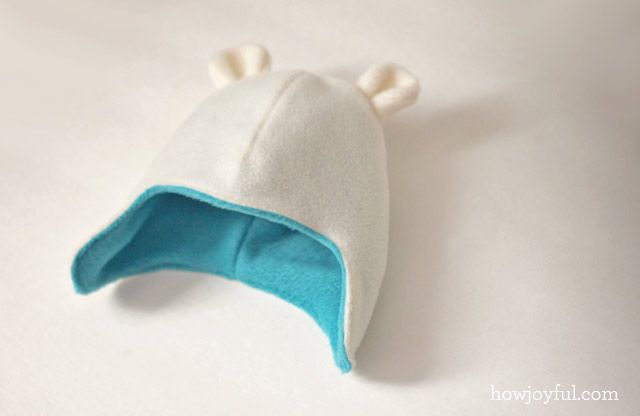
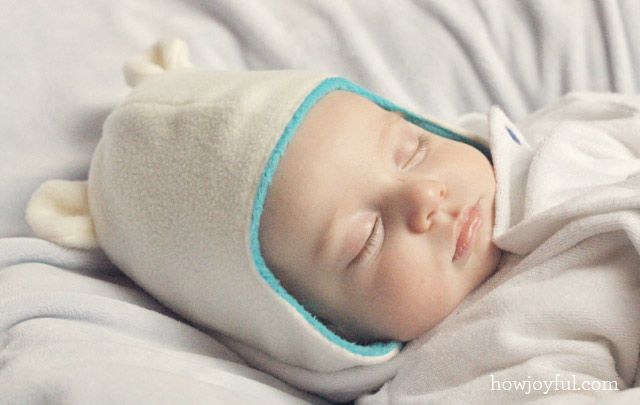
16- After topstitching you can iron the seams so your hat is ready to warm up your baby’s hear and ears!
|
I am so bummed he grew out of the white hat so fast, but that’s the good part about this patterns being simple, they are fearly easy to make so I just have to make more!
http://www.howjoyful.com/2013/02/joyful-baby-hat-with-teddy-bear-ears-tutorial-and-pattern/
Không có nhận xét nào:
Đăng nhận xét